
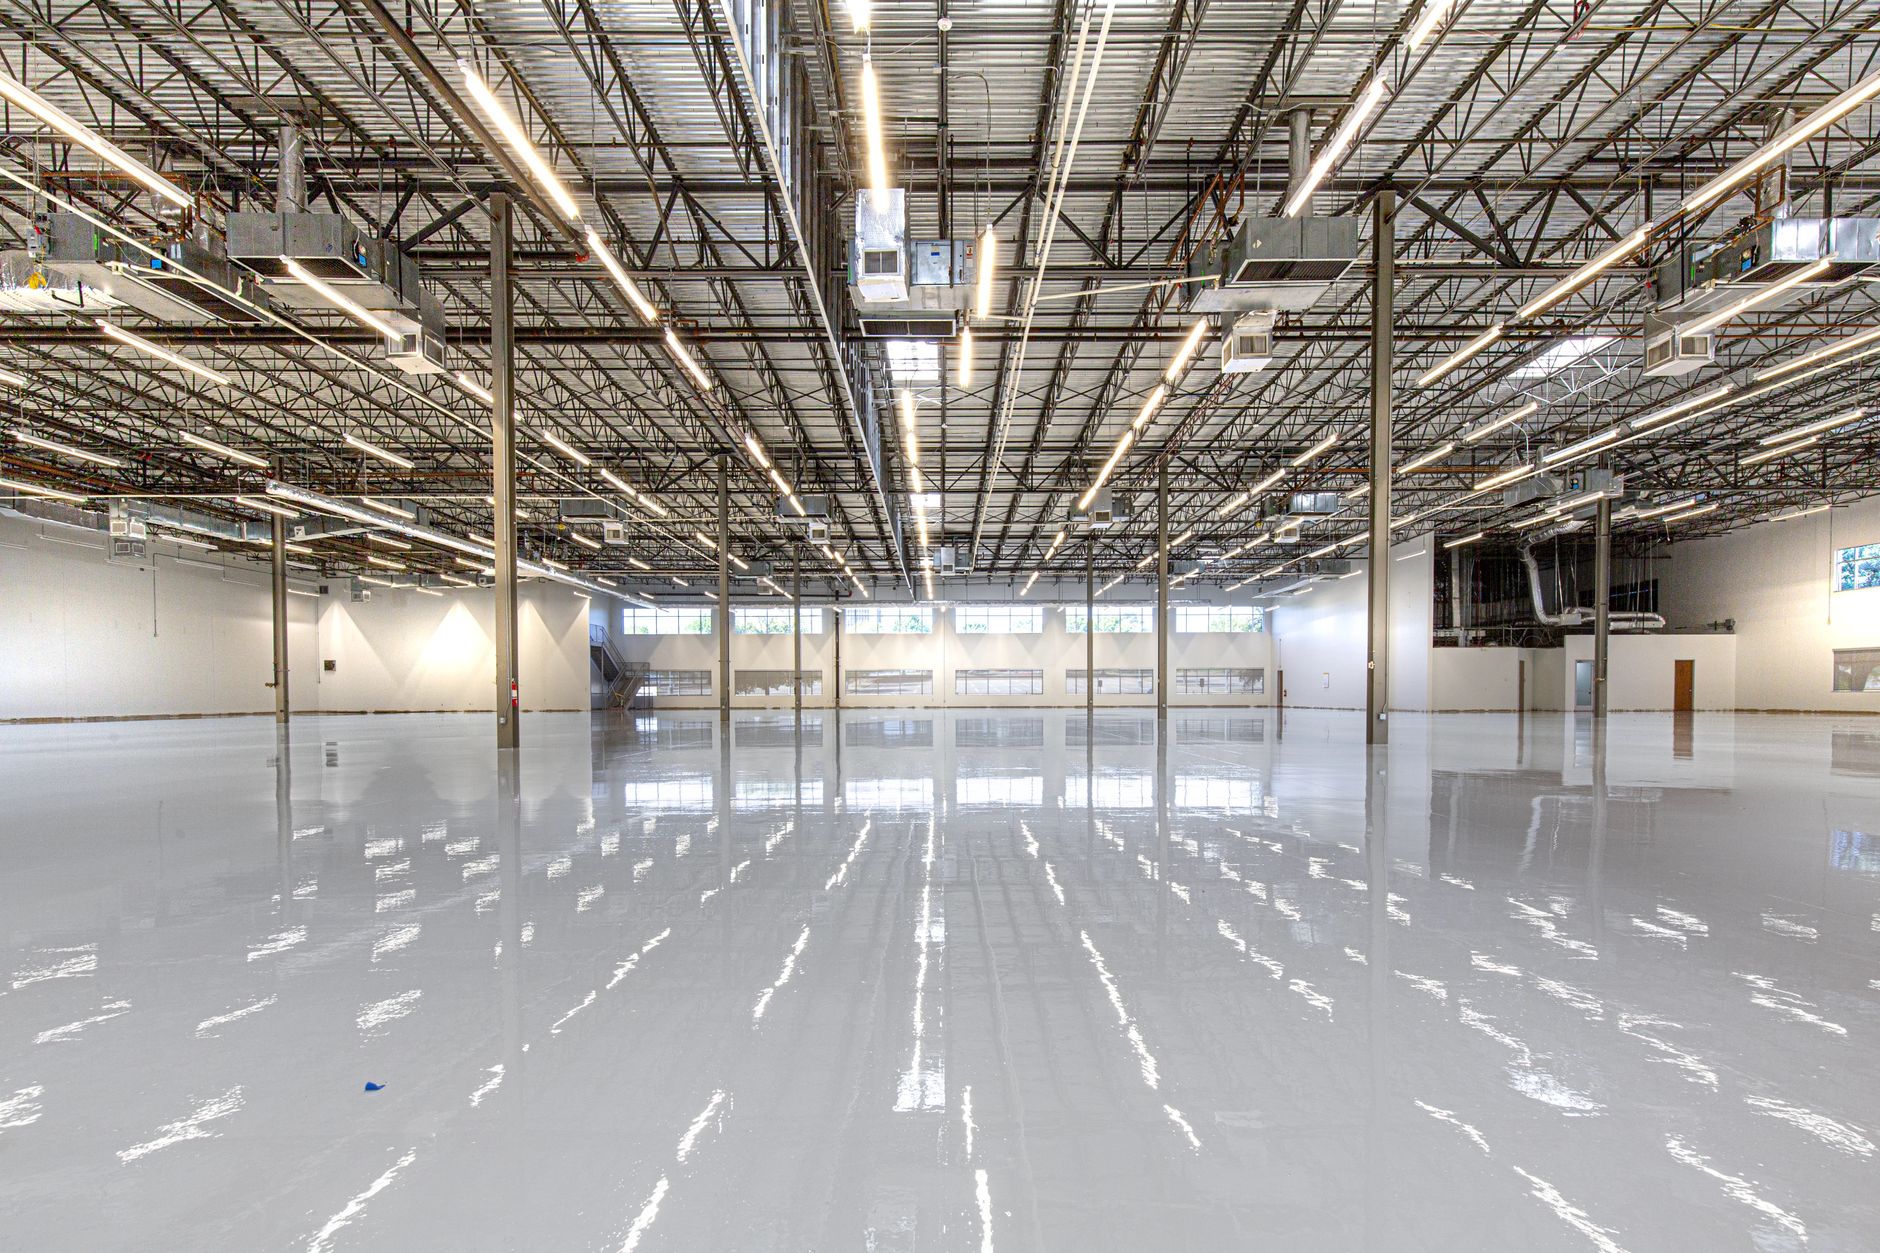
Epoxy floors look tough, glossy, and basically “done” not long after they’re installed. Which is exactly why so many people get tripped up by curing times. You might see a surface that feels dry to the touch and assume it’s ready for life: shoes, furniture, hot tires, the whole routine. But unlike paint, epoxy is a chemical reaction that keeps developing strength long after it stops feeling wet.
If you’re planning an install (or you’ve already got one happening), the big questions are practical: How long until you can walk on it? When can you move your stuff back? And when is it safe to park a car on it without leaving tire marks or ruining the finish?
In this guide, we’ll unpack what “cure” really means, what affects curing time, and realistic timelines for foot traffic, furniture, and vehicles. We’ll also cover common mistakes that slow curing down, plus how to tell if your floor is actually ready, even if the clock says it should be.
What “cure time” really means for epoxy floors
When people ask how long epoxy takes to cure, they’re often mixing up three different milestones: dry-to-touch, ready for light use, and fully cured. Epoxy can feel dry quickly, but that doesn’t mean it’s reached its designed hardness or chemical resistance.
Epoxy flooring cures through a chemical crosslinking reaction between resin and hardener. That reaction continues for days, sometimes longer, depending on the product and conditions. During that time, the coating is gradually getting harder, more abrasion-resistant, and less sensitive to heat, moisture, and chemicals.
Think of it like concrete: it firms up fast, but it gains strength over time. Epoxy is similar. The early stage is about not being tacky; the later stage is about being durable enough to handle real-world abuse like rolling loads and hot tires.
Dry to the touch vs. walkable vs. fully cured
Dry to the touch usually means the surface isn’t sticky and won’t transfer material to your finger. This can happen in a few hours, but it’s the least meaningful milestone for how you’ll use the space. A floor can be dry to the touch and still be soft underneath.
Walkable (light foot traffic) means you can carefully walk on it without leaving prints, scuffs, or dull spots. This is the point where socks or clean shoes might be okay, but dragging boxes, turning sharply, or moving furniture is still risky.
Fully cured means the epoxy has reached near-maximum hardness and chemical resistance. This is when it’s ready for vehicles, heavy equipment, and long-term durability. For many systems, full cure is around 5–7 days, but some products can take longer in cooler or more humid conditions.
Why cure time matters more than you think
The biggest reason cure time matters is that epoxy is most vulnerable early on. If you drive on it too soon, you can embed tire rubber, create permanent imprints, or even cause delamination in extreme cases. If you move furniture back too early, the legs can sink slightly, leaving dents that never fully bounce back.
Even if you don’t see damage immediately, premature use can shorten the life of the floor. Micro-scratches, softened topcoat, or compromised bonding can show up later as peeling, yellowing, or dull wear paths. Waiting an extra day can be the difference between “looks great for years” and “why is it already worn?”
Typical epoxy floor curing timelines (realistic ranges)
There isn’t one universal cure schedule because epoxy systems vary. A thin, water-based epoxy in a climate-controlled basement behaves differently than a high-build, solvent-based system in a garage with temperature swings. Still, there are practical ranges you can plan around.
Below are common timeframes for many professional-grade epoxy flooring systems. Always follow the specific product data sheet and your installer’s instructions, but use these as a planning baseline.
When you can walk on epoxy
Most epoxy floors are ready for light foot traffic in about 12–24 hours. In warmer, drier conditions, some systems allow careful walking sooner. In cooler spaces, it can take closer to 24–36 hours.
“Light foot traffic” means: clean shoes, no twisting, no dragging, no ladders, and no pets running laps. If you must step on it early, socks are often safer than shoes because they reduce grit and hard edges. But only if the floor is truly not tacky.
If your installer applied a broadcast flake and a clear topcoat, the topcoat often sets up a bit faster than the base layer, but you still don’t want to treat it like a finished surface until it has time to harden.
When you can move furniture back in
For most residential spaces, you’ll want to wait 48–72 hours before moving furniture back. That gives the coating time to develop enough hardness to resist dents and scuffs from legs, wheels, and shifting weight.
If you’re moving heavy items (fridges, safes, gym equipment), it’s smarter to wait closer to 72 hours or more. And when you do move things back, lift instead of drag, use soft pads under legs, and avoid rolling hard casters until the floor is further along.
In commercial settings, installers often coordinate staged access, opening certain zones first, then bringing in heavier loads later. That approach reduces the temptation to rush the whole space back into service.
When you can drive or park on epoxy
For garages and driveable surfaces, the typical recommendation is 5–7 days before parking a vehicle. Weight is one concern, but there is a bigger one. It’s hot tires. Tires heat up while driving and can soften a not-fully-cured coating, leaving marks or pulling at the topcoat.
If you absolutely must park earlier, some systems allow 72 hours for very light, short-term parking, but it’s a gamble unless your installer confirms it. Even then, avoid turning your steering wheel while stationary (that “twist” is brutal on fresh coatings), and don’t park a vehicle that just came off a long highway drive.
For workshops with motorcycles, jacks, or rolling tool chests, treat those like “vehicle-level” stress and wait as long as you reasonably can. If you’re planning a garage upgrade in a warm coastal climate, local conditions and product choice matter a lot, especially for projects like epoxy garage floor san diego installs where garages can trap humidity overnight and then heat up quickly in the day.
What affects epoxy cure time (and why it varies so much)
If you’ve ever heard two different timelines for epoxy curing, it’s probably because one person is speaking from ideal lab conditions and the other is speaking from a real garage with a door opening and closing, a marine layer rolling in, and a slab that holds moisture.
Here are the biggest factors that change cure time, sometimes dramatically.
Temperature: the #1 driver of cure speed
Epoxy chemistry is temperature-sensitive. Warmer temperatures generally speed up the reaction; cooler temperatures slow it down. Many epoxies are happiest in the 65–80°F (18–27°C) range, but each product has its own window.
If the space drops into the 50s°F overnight, cure time can stretch out. A floor that “should” be walkable in 18 hours might still feel slightly soft at 24–30 hours. On the flip side, very high temperatures can cause epoxy to set too fast, which can create application issues like roller marks, bubbles, or shortened working time.
Practical tip: don’t just check the daytime high. Look at the full 24-hour cycle, including overnight lows, because epoxy is curing the whole time.
Humidity and moisture: the silent troublemaker
Humidity impacts curing in a few ways. High humidity can contribute to surface blush (a waxy, cloudy film) on certain epoxies and can interfere with topcoat bonding if not handled correctly. Moisture vapor coming through the concrete slab can also create problems if the slab wasn’t tested and prepped properly.
Even if the epoxy “cures,” moisture issues can show up as bubbling, pinholes, or delamination later. That’s why reputable installers test moisture and use moisture-mitigating primers when needed.
If you’re in a coastal or marine-layer climate, the garage might feel dry during the day but get humid at night. That swing can complicate cure time predictions unless the space is controlled.
Product type: epoxy, polyaspartic, polyurethane, and hybrids
Not all “epoxy floors” are pure epoxy from top to bottom. Many systems use epoxy primer/base coats and then a polyaspartic or polyurethane topcoat for UV stability and faster return-to-service.
Some fast-curing products can be walkable in a few hours and driveable in 24–48 hours. But they’re more sensitive during installation and require experienced crews. Traditional high-build epoxies often take longer but can be very forgiving and robust when installed right.
When comparing quotes, ask what the full system is: primer, base, broadcast, topcoat, and the specific cure schedule for each layer. “Epoxy floor” is a category, not a single product.
Coat thickness and number of layers
Thicker coats can take longer to cure through, especially if the environment is cool. A high-build epoxy that’s laid on thick for a smooth, glassy finish may need more time than a thinner coat.
Multi-layer systems also extend the total timeline. Each layer has its own recoat window and cure needs. Installers often apply coats within a specific time window so layers chemically bond. If that window is missed, the next layer might require sanding for mechanical adhesion.
This is why a “one-day install” claim should be understood carefully. Some systems truly can be installed in a day, but the floor still needs curing time before heavy use.
How installers plan cure windows (so you don’t get stuck waiting)
If you’re coordinating a renovation, the cure window is often the bottleneck. You might have painters, electricians, and movers lined up, and suddenly the floor needs a week before vehicles can return. Planning the sequence makes life easier.
A good installer will ask how you use the space and then recommend a system that matches your timeline and durability needs. Here’s how the planning typically works.
Scheduling around foot traffic and pets
People underestimate how hard pets are on fresh epoxy. Claws can scratch a soft topcoat, and pets don’t understand “walk gently and don’t pivot.” If you have dogs, plan a pet-free zone or alternate entry for at least the first 24–48 hours.
For interior rooms, installers often suggest doing epoxy last, after dusty work is finished. Dust settling into a curing topcoat can create a gritty feel and reduce gloss.
If you must pass through the area, ask your installer whether temporary walk boards are allowed. Sometimes they can be used carefully, but only after a minimum set time and only if they’re clean and flat.
Staging garage items so you can still function
Garages are tricky because everything lives there: storage racks, fridges, tools, bikes, and sometimes the only entry door. The easiest approach is to clear the garage completely before install day, even if that means renting a small storage pod for a week.
If clearing everything isn’t possible, some installers can stage items to one side and do the floor in phases. That can keep you functional, but it may create visible seams or require extra labor, and you still need cure time before moving items onto the fresh section.
Also think about where your cars will go. Street parking for a week might be fine in some neighborhoods and a headache in others. Build that into your plan early so you’re not tempted to park too soon.
Matching the system to your return-to-service needs
If you need the garage back fast, say you run a home-based business or you simply can’t go a week without parking, ask about fast-curing topcoats and hybrid systems. The right system can shorten downtime, but it has to be installed correctly and in the right conditions.
On the other hand, if your priority is maximum build, deep gloss, and long-term chemical resistance, you may accept a longer cure window. The best choice depends on how you’ll use the floor, not just how it looks on day one.
For homeowners researching epoxy flooring san diego options, it’s especially helpful to ask how local temperature swings, humidity, and slab conditions influence the recommended cure schedule. A timeline that works in a dry inland shop may not translate perfectly to a coastal garage without adjustments.
What you can safely do at each stage (a practical timeline)
It helps to think in stages instead of a single “cure time.” Here’s a practical way to map your first week so you don’t accidentally damage the finish.
These ranges assume a typical professional epoxy system under reasonable conditions. Your installer’s instructions always win, but this gives you a realistic framework.
0–12 hours: hands off
During the first several hours, the coating is setting up. Any dust, hair, or debris that lands on the surface can become a permanent part of the finish. Keep doors closed, fans positioned as recommended (not blasting directly across the surface unless the installer instructs it), and foot traffic at zero.
If you’re tempted to “just check it,” resist. Even leaning over and dropping a small item can leave a mark. If you absolutely must enter, coordinate with the installer. There may be a safe edge or a protected path, but don’t assume.
Also avoid running heaters or dehumidifiers without guidance. Some equipment can create airflow that kicks up dust or causes uneven curing.
12–24 hours: careful walking (if approved)
At this stage, many floors can handle light foot traffic. The key word is “light.” Walk straight, don’t pivot sharply, and keep shoes clean. Avoid stepping on the surface with gritty soles that can scratch a still-soft topcoat.
If you’re in a garage, try not to bring in moisture from outside, wet shoes can leave dull spots or interfere with curing depending on the system. If it’s raining or foggy, it might be better to wait.
Don’t place anything on the floor yet, even if it seems hard. Point loads (like a ladder foot or a small caster) can dent early.
24–72 hours: light use, but no heavy loads
After a couple of days, the floor is usually much tougher. You can often move lighter items back in, especially if you lift them and set them down gently. Use felt pads or soft protectors under furniture legs.
Rolling loads are still risky. Tool chests, jacks, and hard casters concentrate weight and can leave tracks. If you must roll something, use wide, soft wheels and go slowly, better yet, wait.
Cleaning is also best kept minimal at this point. If you need to remove dust, use a soft broom or microfiber mop. Avoid harsh chemicals until full cure.
3–7 days: vehicles, hot tires, and “real life”
This is the stage where most epoxy floors are ready to handle normal life, including vehicles. If your installer says 7 days, it’s usually because they want the coating to reach a level of hardness that resists hot tire pickup and abrasion.
Even once you start parking, be gentle for the first couple of weeks. Avoid turning the steering wheel while the car is stationary, and be mindful of kickstands for motorcycles (use a small pad if needed).
If you spill oil, brake fluid, or chemicals, wipe them up promptly. A fully cured system resists staining much better, but good habits keep the floor looking new.
Common mistakes that slow curing or ruin the finish
Most epoxy floor failures aren’t because epoxy is “bad.” They’re usually because something went wrong with prep, mixing, environmental conditions, or early use. Understanding the common pitfalls helps you avoid them, especially if you’re DIY-ing or managing a project.
Here are the big ones that impact cure time and performance.
Rushing the recoat window
Each layer of an epoxy system has a recoat window: a period when the next coat can be applied for a strong chemical bond. If the installer applies the next coat too early, solvents can get trapped or the surface can wrinkle. Too late, and the layers may not bond properly without sanding.
Recoat windows are influenced by temperature and humidity. A product might say “recoat in 6–12 hours,” but that’s often based on a specific temperature. In cooler conditions, the window shifts.
If you’re DIY-ing, follow the product data sheet exactly and don’t guess. If you’re hiring a pro, ask them how they manage recoat timing when the weather changes.
Poor mixing (off-ratio or not mixed enough)
Epoxy must be mixed at the correct ratio and mixed thoroughly. Off-ratio epoxy can remain soft or tacky for days, sometimes permanently. Under-mixing can leave streaks of resin or hardener that never fully cure.
Even if the surface seems okay, poorly mixed epoxy can have weak spots that scratch easily or peel. This is one reason professional crews use mixing drills, timed mixing routines, and sometimes box (combine) multiple kits to ensure consistency.
If you notice sticky patches that don’t improve after the expected cure time, it may not be an “extra day” issue. It could be a mixing issue that needs corrective work.
Moisture issues in the slab
Concrete is porous and can transmit moisture vapor. If the slab has high moisture and you apply epoxy without mitigation, you can get bubbles, pinholes, or peeling, sometimes weeks or months later.
Moisture problems also complicate curing because the environment at the bond line isn’t stable. That can lead to cloudy spots or loss of adhesion. Proper testing (like calcium chloride or relative humidity probes) helps predict risk.
If your garage has had moisture problems in the past, dark spots, efflorescence, or a musty smell, bring it up before installation. A moisture-mitigating primer can be the difference between a long-lasting floor and a frustrating redo.
Driving too soon (hot tire pickup)
Hot tire pickup is one of the most common early-use failures. A tire that’s warmed from driving can soften a not-fully-cured coating. When you back out, you might pull up rubber marks, or worse, lift the coating slightly.
This is why “it feels hard” isn’t the same as “it’s ready for tires.” Full cure is about heat resistance and cohesive strength, not just touch-dry hardness.
If you must park early, at least let the car cool down before pulling in, avoid turning the wheel while stopped, and consider using parking mats temporarily. But the best move is still to wait the recommended time.
How to tell if your epoxy floor is cured enough (without guessing)
Time is helpful, but it’s not the only indicator. If conditions were cooler than expected, or if you’re unsure whether the floor is ready for the next stage of use, there are a few practical checks you can do.
These aren’t lab tests, but they can help you avoid the most common “we thought it was ready” mistakes.
The tack test and smell check
Lightly touch an inconspicuous area (or an edge) with a gloved finger. If it feels tacky or leaves any residue, it’s not ready for traffic. A properly cured surface should feel dry and firm.
Also pay attention to odor. A strong lingering chemical smell can indicate the coating is still off-gassing and curing. Some smell is normal early, but if it’s intense after several days, ask your installer what’s expected for that product.
Ventilation helps, but don’t create dust storms. Balanced airflow and stable temperature are your friends.
The thumbnail test (use carefully)
In a hidden spot, press your thumbnail gently into the coating. If it leaves a noticeable dent, the epoxy is still relatively soft. The job may be fine, and the coating may just need more time, but the dent is a signal not to bring in heavy loads yet.
Be cautious with this test: don’t do it in a visible area, and don’t press so hard that you damage a surface that would have cured fine with patience.
If the coating resists indentation and feels hard, you’re likely closer to being ready for heavier use, assuming the recommended cure time has also passed.
Ask for the product data sheet cure schedule
If you hired a professional, they can tell you exactly which products were used and what the manufacturer specifies for walk-on and drive-on times at your approximate temperature. That’s the most reliable reference.
If you’re DIY-ing, download the technical data sheet (TDS) for your epoxy and topcoat. Look for cure times at different temperatures. Many people only read the label, which rarely includes the full picture.
If your space is outside the recommended range, don’t improvise, adjust the environment or adjust expectations.
Special situations: garages, basements, and outdoor-adjacent spaces
Where the epoxy is installed changes everything. A climate-controlled interior room is predictable. A garage that swings from cool nights to hot afternoons is not. Here are a few scenarios that commonly affect cure time and usability.
These are the situations where people most often ask, “Is it normal that it’s taking this long?”
Garage floors with big temperature swings
Garages can cool down dramatically overnight, slowing cure right when the coating is trying to develop early strength. Then the next day, heat builds up and can accelerate the reaction. That swing can be okay, but it makes timelines less predictable.
If you can, keep the garage within the product’s recommended temperature range for the first 24–48 hours. Sometimes that means gentle heating; sometimes it means avoiding an install on a day with extreme heat.
Also keep the door closed as much as possible early on. Open doors invite dust, insects, and humidity changes.
Basements and lower-level slabs
Basements often have cooler slab temperatures and higher ambient humidity. Even if the air is warm, the concrete can stay cool, which slows curing at the interface where adhesion matters most.
A moisture test is especially important here. Basements can have hydrostatic pressure or seasonal moisture changes. If moisture mitigation is required and skipped, the floor might look fine initially and then fail later.
If you’re finishing a basement, coordinate epoxy installation after any water management work (like sealing, drainage, or dehumidification) is in place.
Spaces with lots of sunlight (UV exposure)
UV doesn’t usually slow curing, but it can affect appearance over time. Many epoxies can amber or yellow with UV exposure, especially in bright sunlit areas near doors or windows.
That’s why many systems use UV-stable topcoats (polyaspartic or polyurethane). These can also change return-to-service times, sometimes allowing faster use depending on the product.
If your garage door is often open and sunlight pours in, ask about UV stability so your floor stays looking consistent.
Making the wait easier: simple ways to protect a fresh epoxy floor
Even when you know the cure timeline, living around it can be annoying. The good news is you can set yourself up for a smoother week with a little prep and a few protective habits.
These tips are also helpful if you’re managing a shared space where someone might accidentally step in too early.
Create physical barriers and clear signage
Use painter’s tape, cones, or a temporary barrier to block access. If it’s a garage, put a note on the door opener or steering wheel that says “Do not park until [date].” It sounds simple, but it prevents the classic mistake of someone coming home on autopilot.
If you have kids, be extra clear. A shiny floor is basically an invitation to touch it. Barriers work better than verbal reminders.
For multi-tenant or shared buildings, ask the installer if they can put up professional signage. It reduces liability and confusion.
Plan alternate routes and storage ahead of time
If your garage is your main entry, plan a different way in and out for at least a couple of days. Keep keys, shoes, and daily-use items somewhere accessible so you don’t have to “just pop in” to grab something.
For storage, sort items into “must-have this week” and “can wait.” Put the must-haves somewhere else temporarily. This reduces the temptation to move boxes back too early.
If you’re doing a larger remodel, schedule epoxy so the cure window overlaps with a time you’ll be away or less reliant on the space.
When you do return, treat it gently for the first few weeks
Even after full cure, a new floor benefits from a short break-in period. Use soft pads under heavy items, keep grit swept up, and avoid metal edges scraping across the surface.
If you’re parking vehicles, be mindful about dripping water, road salts, or chemicals. Epoxy is resistant, but it’s not invincible, and good maintenance keeps it glossy longer.
Most importantly: if something seems off, soft spots, cloudy patches, unusual texture, ask your installer sooner rather than later. Early fixes are often simpler than waiting until damage spreads.
Quick-reference cure chart (useful for planning)
Here’s a simple planning chart you can screenshot. It’s not a substitute for product specs, but it helps you coordinate life around the cure window.
Typical epoxy system under average conditions:
- Light foot traffic: 12–24 hours
- Move furniture / light items: 48–72 hours
- Heavy items / rolling loads: 3–7 days (ask your installer)
- Park a vehicle (hot tires): 5–7 days
- Full chemical resistance: about 7 days (varies by product)
If your space is cooler than recommended, add time. If humidity is high, add caution. And if you’re using a fast-curing hybrid system, your installer may give you a shorter timeline. But still follow it exactly.
The payoff for patience is huge: a floor that keeps its gloss, resists stains, and handles daily wear without peeling or tire marks. When you give epoxy the time it needs to cure, it tends to return the favor for years.